
Sail and Cushion Sewing Table
Article By Burt RevellHi Shorty,
I recently told a friend I would make cushions for his sailboat so he sent me a big roll of white vinyl and a bunch of zippers. I started the first cushion about two weeks ago on a sewing table made of two desks placed back to back. For most of my cornice sewing projects (www.qualitycornices.com) it has been adequate but not for these sailboat cushions because they are long and stiff and as I tried to maneuver the material under the needle of the machine the fabric would get caught on the edges of the desk and the stitch line would be uneven. I like my cornices to look professional and even though the cushions for my friend are free it really bothered me that they were not turning out the way I want. So----- that is all a long story getting to why I spent the last week reconfiguring my cornice work table to handle the vinyl fabric and move my sewing machine into my cornice workroom in the basement.
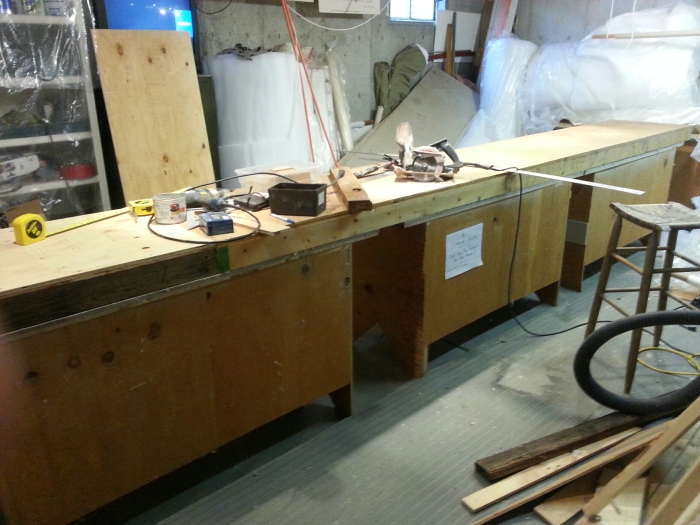
Here is the basic cornice table that I've been using since about 1988. It is an old ping pong table cut into four sections.

I then added 8' x 24 inch fold down leaves on the far side covered with 4 x8 sheets of masonite and added 15 inch by 8 ft. fold down leaves on this side giving me a table sixteen feet long by 63 inches wide. Most fabric is less than 60 inches wide so it can now be rolled out easily. I looked over the videos from Sailrite showing how their sewing stations were set up around the huge table they use for making sails and cushions and boat covers. There wasn't enough room to do it the way they did it but within the confines of my space this sewing station comes pretty close. It is designed so that I can stand or sit directly in front of the needle and be able to turn to my left to work on the fabric.
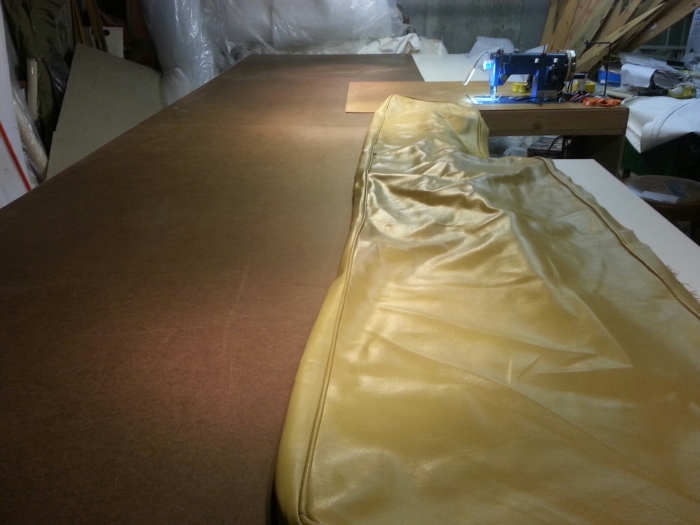
And here is a sailboat cushion on the table that is eight feet long and 25 inches long. This sure is easier to slide the fabric through the machine.