Build Flotation Chambers For Kayak Self Rescue
Article By Shorty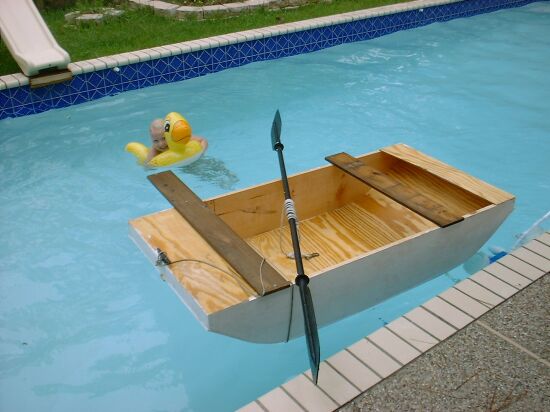 Boxing In The Ends
On most boats, you can take a pretty good guess at where the person will need to sit. With a boat this small, the crew placement is very critical to keeping the boat in proper trim. I have hopes of using this boat in 3 ways:
1 - paddling by myself
2 - paddling with one daughter sitting on the bow deck, and going fishing in ponds
3 - towing (or pushing) a small inflatable with one or both daughters
So... to figure out where and how big to make the airboxes, I temporarily screwed a couple of scraps across the gunnel and paddled around the pool. A bulkhead 17.5" from the stern transom, and one 14" from the bow transom seemed to feel good, and give me enough room to paddle comfortably, and keep the boat level both with and without daughter on the bow deck.
 I took one of my left over plank pieces, and glued & screwed it in place.
Notice the rope across the boat, I took a screwdriver and twisted it into the rope, then wound it some more to tighten the rope.
After the sides where pulled in enough to hold the bulkhead, I put a spring clamp to hold the screwdriver in place.
This is called a spanish windlass, it is a very common technique used mostly when working on curved sided boats.
I took one of my left over plank pieces, and glued & screwed it in place.
Notice the rope across the boat, I took a screwdriver and twisted it into the rope, then wound it some more to tighten the rope.
After the sides where pulled in enough to hold the bulkhead, I put a spring clamp to hold the screwdriver in place.
This is called a spanish windlass, it is a very common technique used mostly when working on curved sided boats.
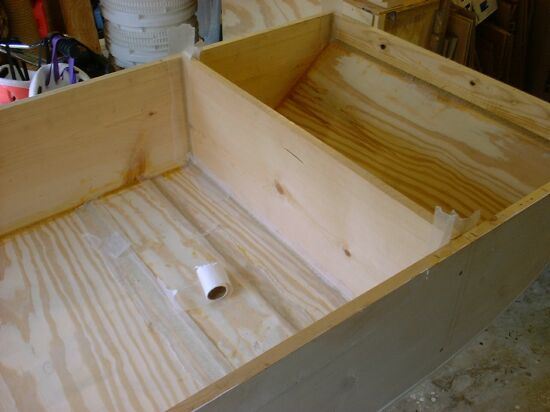 I put a thickened epoxy fillet down both sides of the bulkhead seams, and while curing I put a strip of wax paper on the fillet to smooth it out.
When the epoxy is cured, I just pull the wax paper off, and it is very smooth.
I put a thickened epoxy fillet down both sides of the bulkhead seams, and while curing I put a strip of wax paper on the fillet to smooth it out.
When the epoxy is cured, I just pull the wax paper off, and it is very smooth.
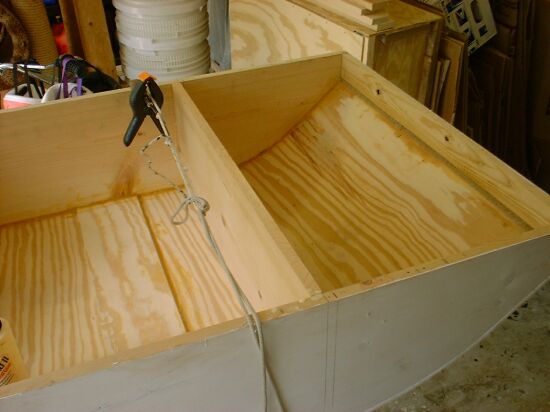
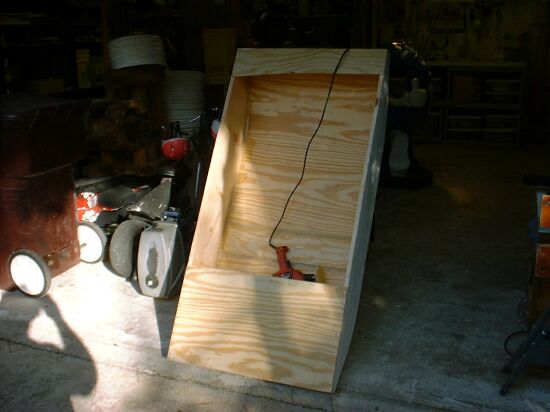
 Couple of ribs on the underside of the stern deck -- they really strengthen the deck so when the kids sit on it, won't break.
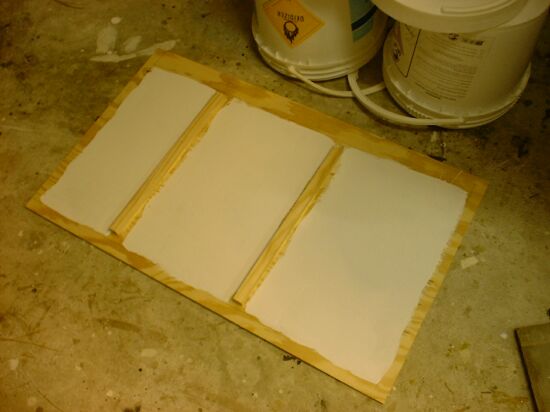
 Paint the inside of the tank (a lot harder to do after the deck is on)
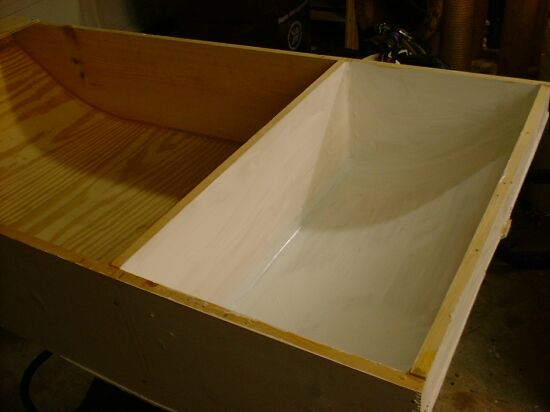
 Presto, emergency floatation & a large storage area.
 Really don't have any plans to sail this boat, I was going to put a plain bulkhead at the bow, but at the last minute decided to install a mast step & partner - just incase I got the itch.
This is of the simplest types of mast steps that there are, it is just a couple of blocks that are bolted to the bulkhead.
Really don't have any plans to sail this boat, I was going to put a plain bulkhead at the bow, but at the last minute decided to install a mast step & partner - just incase I got the itch.
This is of the simplest types of mast steps that there are, it is just a couple of blocks that are bolted to the bulkhead.
 The bolts were a little long, so I cut them off with a metal wheel on my circular saw.
The cut off wheel started off as a regular 7.5" blade, but I have used it so much that it is shrinking to the point where I am about to need a new one.
The bolts were a little long, so I cut them off with a metal wheel on my circular saw.
The cut off wheel started off as a regular 7.5" blade, but I have used it so much that it is shrinking to the point where I am about to need a new one.
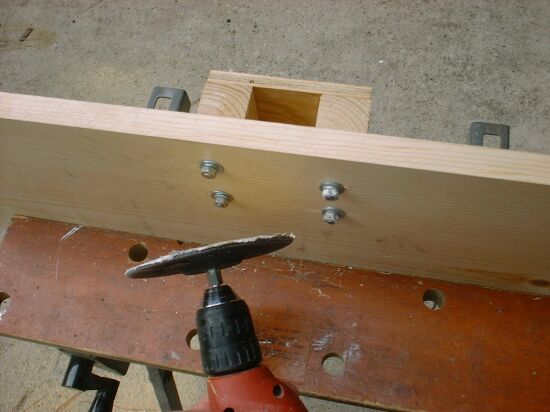 And to smooth out the bolt stubs, I sand it down with my disk sander, and regular sandpaper.
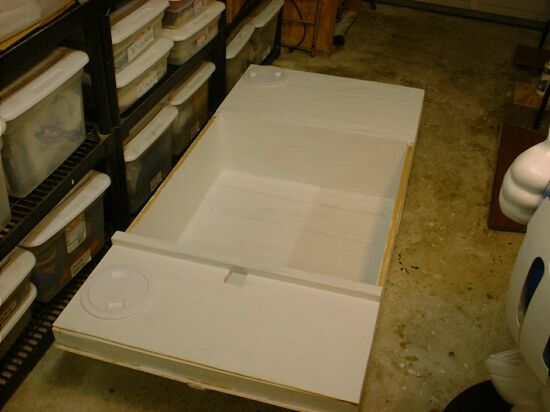
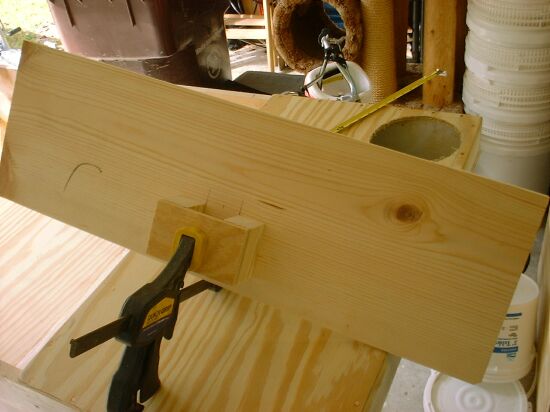
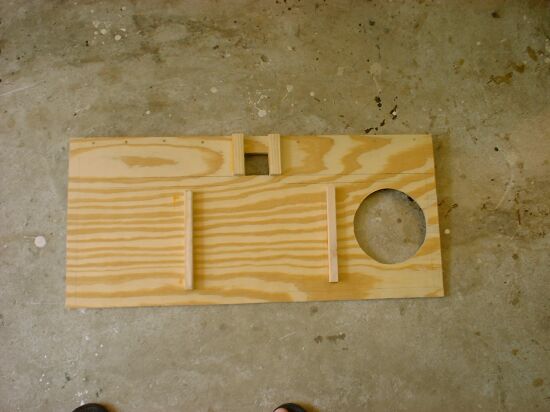 This is the under side of the bow deck, the stern most part is at the top.
The little rectangle is where the mast goes, the big hole on the right is where the screw out deckplate goes.
The 2 little sticks are the sides to the mast partner, and the 2 big sticks are ribs to stiffen the deck.
This is the under side of the bow deck, the stern most part is at the top.
The little rectangle is where the mast goes, the big hole on the right is where the screw out deckplate goes.
The 2 little sticks are the sides to the mast partner, and the 2 big sticks are ribs to stiffen the deck.
 The deck is installed.