Make fiberglass mast sleeve for unstayed mast
Article By ShortyDecided I wanted to convert the hull to use an unstayed mast. I like the simplicity of just dropping a glorified 2x4 into a hole, unravelling the sail and poof, I go sailing. Gonna be a lot of work though, this boat wasn't meant to do this.....
To start with I made a sleeve. I have a nice wooden mast that I made for my PDRacer and would be great to use the same mast and sail for both boats. On the other hand, would be nice to have the sleeve be the same size as other board boats, so if I happened across a sail rig from another, I could use it on this boat -- such as a sunfish rig.
I have kept dimensions from a few other board boats, and here they are:
| boat | mast sleeve diam | mast diameters | sleeve depth | leading edge of trunk to center of sleeve |
| holder 12 | 2-7/8" x 2.5" (oval) | 2.5" | 15.5" | 22" |
| scat | 2-3/8" | 2-3/8" | 12" | 25" |
| my pdracer | 2.75" | 2.75" | 12" | 29" |
| minifish | 2-3/8" | ?? | 9" | 29" |
| scorpion | 2.25" | 2.25 | ?? | 32" |
My PD mast was a little on the big side, but decided to use that diameter anyway. If I wanted to use a board boat mast, looks like they are typically smaller so I could just make an additional tube to adapt them to my sleeve.
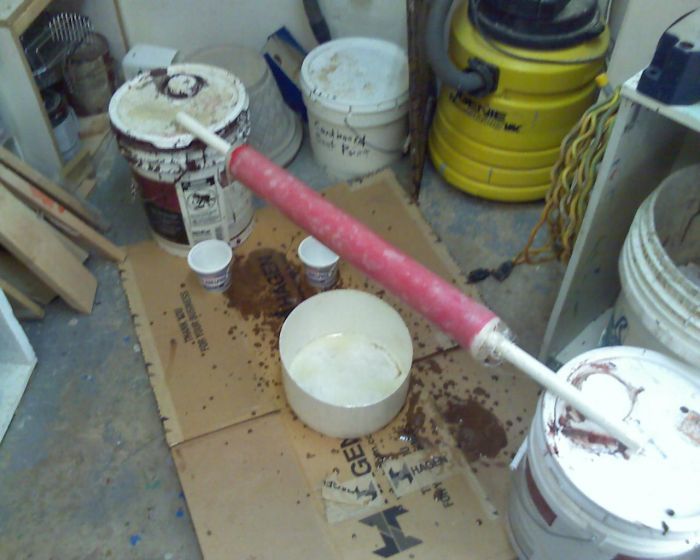
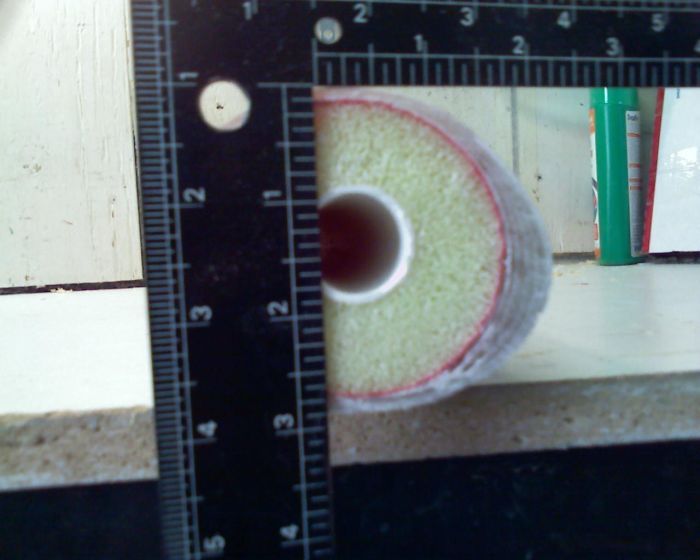
So, I started thinking of all sorts of different ways to make a 2.75" diameter tube as a mold for my sleeve, and then I discovered one of my kid's pool noodles was that diameter! YEEAA!! I ran a piece of pvc pipe down the middle to straighten it out, and then put on a bunch of layers of fiberglass.
From the picture you can see the glass and epoxy sort of pooled on the bottom side so one side of the sleeve is thicker than the rest.
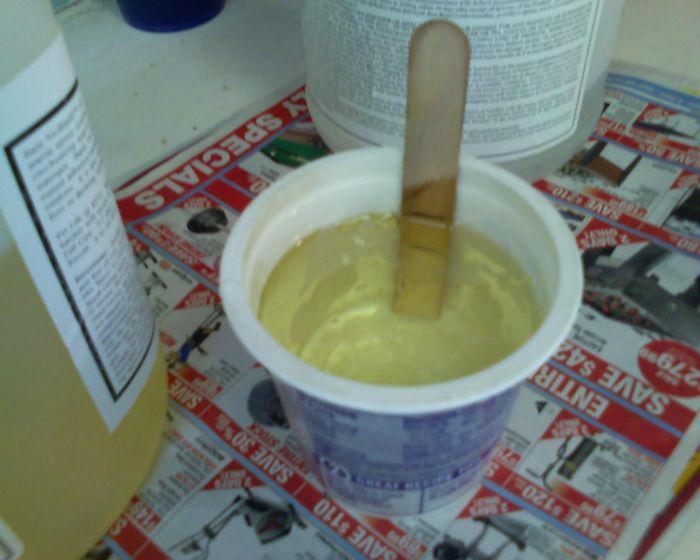
Everyone seems to have a different way of measuring epoxy. Here is my method, I cut the end off a popsicle stick so it is flat. Then I put 2 marks on the stick according to the mix ratio of the epoxy. Here I am using 2:1 epoxy, so I put one mark 2" up from the bottom, then another mark at 1" above that. Then it is a matter of just filling up to the appropriate line with each part and mixing.
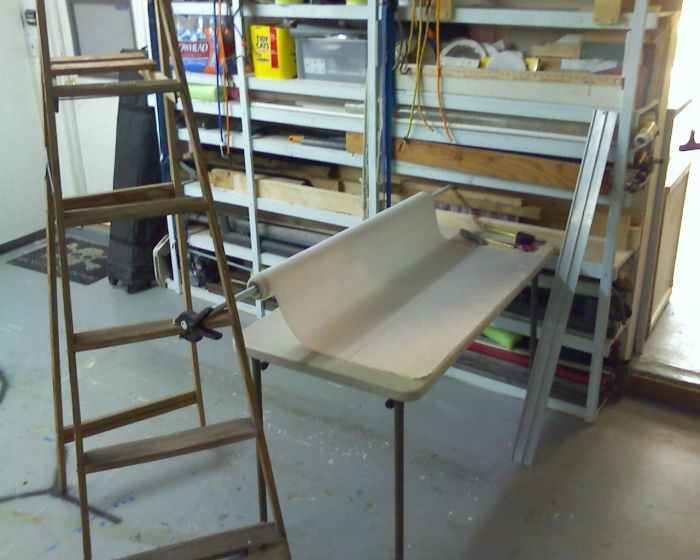
Here is one of the ways I cut fiberglass cloth. Not the fanciest, but it works.
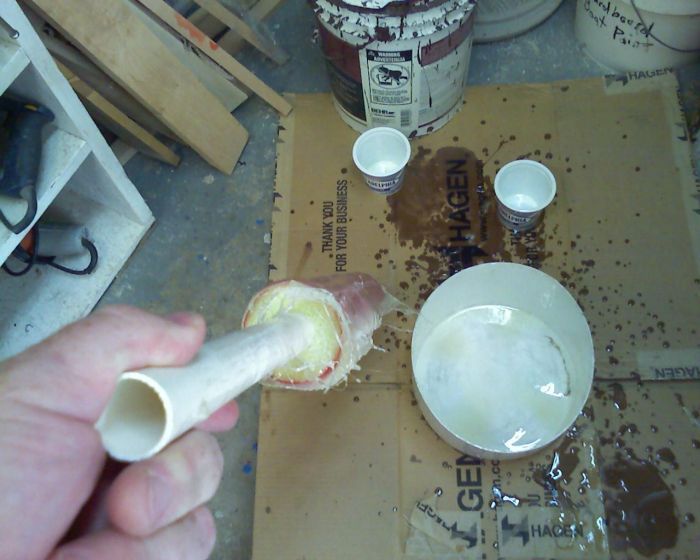
Here the sleeve is cured. I shaved both ends and you can see the bulge of what was on the bottom side.
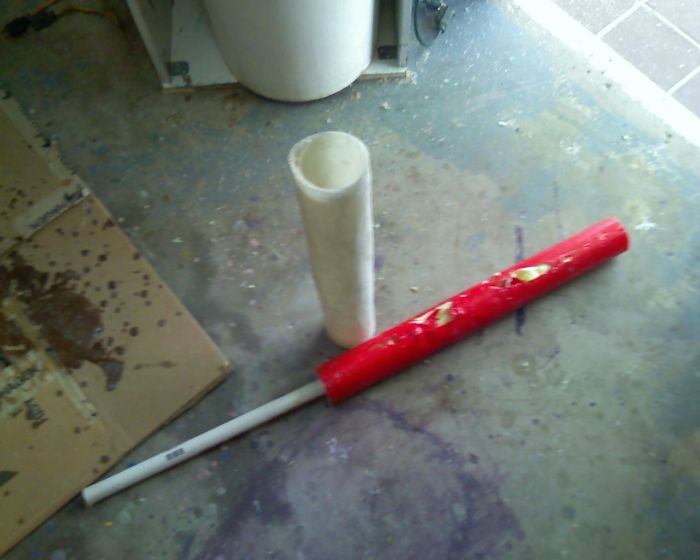
Forgot to mention, before wrapping epoxy around the pool noodle, I coated it with vynil tape which epoxy doesn't stick to. It came out rather easily.
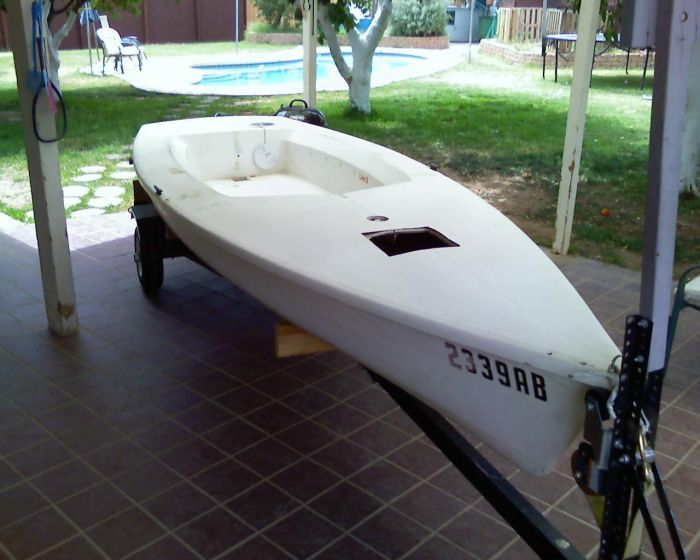
Now it is time to fit it into the boat. Because I needed access to the inside of the hull, I cut a large hole in the front deck.
One of the problems with this particular hull is that it was made with a foam core, which has seperated from the glass. The deck is super floppy, and later I'll show how I fixed that.
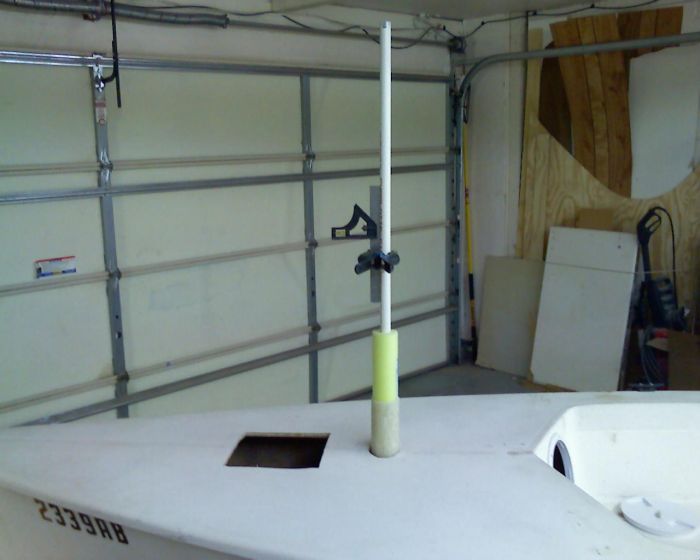
To mount the sleeve vertically in the hull, I put some PVC in another section of the fun noodle, then shoved it into the sleeve. This gave me something I could measure against. I spent some time leveling the boat on the trailer really well, then futzed with the sleeve till it was vertical.
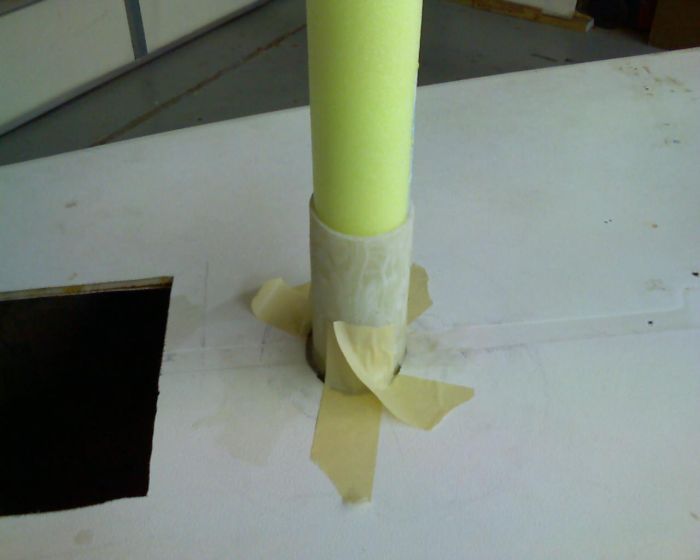
I used some masking tape to hold the sleeve, checked it was vertical again, and then dribbled some epoxy on the sleeve sort of like tack welding it into place.
After the first few spots of epoxy cured, I drizzled more epoxy to help lock it in place better.
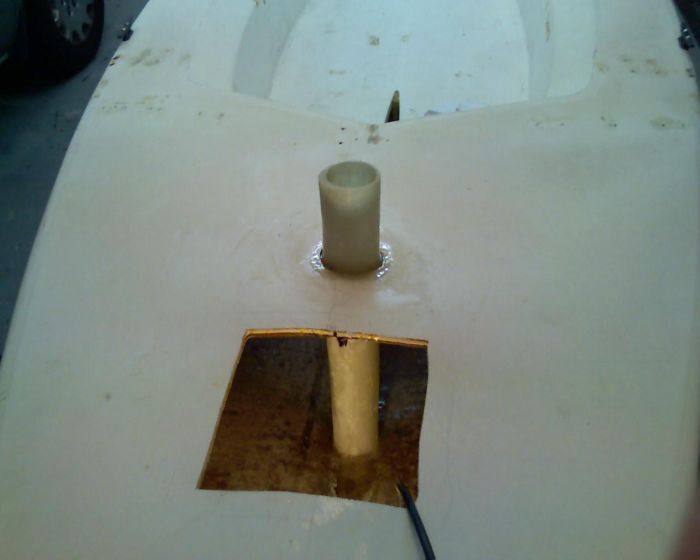
Since there was a gap around most of the sleeve and the deck (with the foam core - more gap), I filled in with thickened epoxy. I used to use other fillers, but these days I mostly use wheat flour and/or sawdust as my filler of choice. Sometimes I'll run some sawdust through my blender, but don't tell my wife.
Now it is time for the bracing. Most mast sleeves are molded in at the factory, so they are chemically bonded with the glass that makes up the hull. What I am doing is a secondary bond which should hold fine - but I am paranoid about releassing so instead of just glassing the sleeve to the hull, I am making braces that span the entire width of the hull and curve up to the inside of the gunnels.
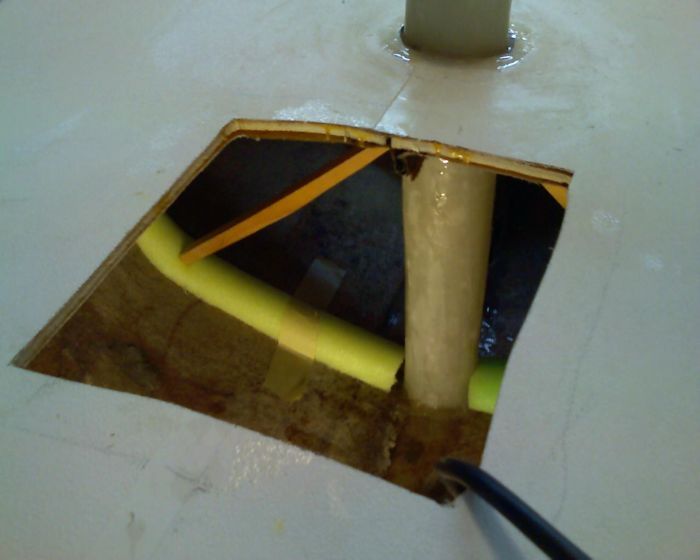
As a form, I am using the rest of that same fun noodle, but cut in half. To hold it in place, I braced it with some sticks, then put a couple small pieces of fiberglass to hold it.
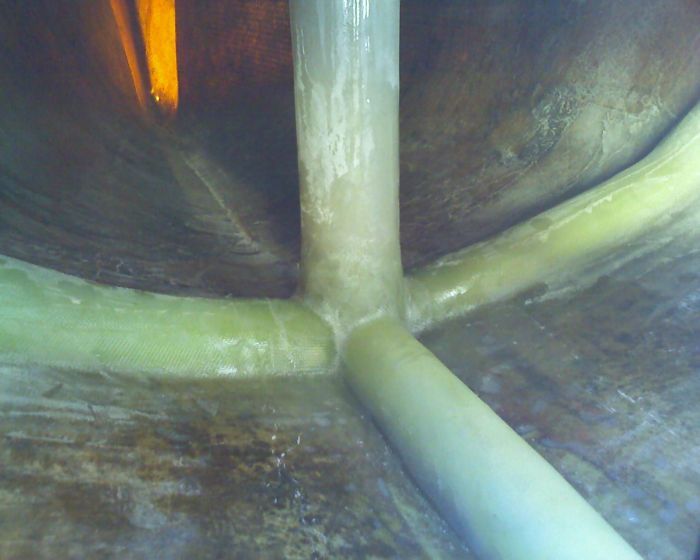
Then I put a bunch of layers of glass over the fun noodles to mold up the bracing. This is what it looked like when I was done. The picture is taken from the cockpit, looking forward through the deckplate, and in the distance is the bow.